Drawing Lines
*by Davide Prati
Introducing ...
In this tutorial we will have a look on how to draw lines with openFrameworks. Most of the code in this tutorial comes from this workshop held by Zach Lieberman. Lines are probably the most primitive abstract form of drawing. They are one of the first things kids learn to draw, and one of the most instinctive way we still use to draw on a surface. But in the end, they are just a bunch of points connected together; openFramework provides a class to easily draw lines connecting point: ofPolyline. Let's start to see how to use it!
Draw a line
In this example we will draw a line on the screen simply dragging the mouse around. In order to do that, we will start creating our container of points. Create a new app with the project generator and add this to your App.h file:
ofPolyline line;Now edit the method setup, draw, mouseDragged and mousePressed as follow:
void ofApp::setup(){
    ofBackground(0,0,0);
}

void ofApp::draw(){
    line.draw();
}

void ofApp::mouseDragged(int x, int y, int button){
    ofPoint pt;
    pt.set(x,y);
    line.addVertex(pt);
}

void ofApp::mousePressed(int x, int y, int button){
    line.clear();
}
The interesting things are happening in the mouseDragged method. When we press the left button of the mouse and we drag it around, the points with the coordinates corresponding to the mouse position are added into the instance line of the ofPolyline class. When we call line.draw(), ofPolyline automatically connects the dots and draws a line on the screen. When we release the mouse, line.clear() deletes all the points that we have insterted previously, getting ready to draw a new line.
A bit of noise
Once that we have the points in the ofPolyline we can edit them in the update method, before drawing them. Let's move the points one pixel up or down along the x and y axis. Edit the update method as follow:
for (auto &vert : line.getVertices()){
    vert.x += ofRandom(-1,1);
    vert.y += ofRandom(-1,1);
}
You should see something like this:

Note the & in the loop. If we would have ommit it, we wouldn't have been able to edit the position of the vertices. The & is telling to c++ that we are using a reference of the vertice contained in the ofPolyline, and we need a reference because we want to change the values inside the ofPolyline. When you simple want to read the values of the point inside the ofPolyline, do not use &. When you want to edit them, like in this case, use it.
A web of lines
Let's try something more complex. In this example we are going to create lines with ofDrawLine an ofPoint. Create a new app with the project generator and edit the ofApp.h file as follow:
#include "ofMain.h"

class Line {
public:
    ofPoint a;
    ofPoint b;
};

class ofApp : public ofBaseApp{

  public:
    // ...
    //leave everything as it is
    // ...
    vector < ofPoint > drawnPoints;
    vector < Line > lines;
};
In this header file we have defined a new class, the class Line. This class simply consist of 2 points, a and b, this 2 points define where the line begins and where the line ends. We have also defined two new vectors, drawnPoints, and lines. In the App.cpp file we are going to see why we need them:
void ofApp::setup(){
ofBackground(255,255,255);
}
void ofApp::draw(){
ofEnableAlphaBlending();
ofSetColor(30,30,30,30);
for (auto line : lines) {
ofDrawLine(line.a, line.b);
}
}
void ofApp::mouseDragged(int x, int y, int button){
for (auto point : drawnPoints){
ofPoint mouse;
mouse.set(x,y);
float dist = (mouse - point).length();
if (dist < 30){
Line lineTemp;
lineTemp.a = mouse;
lineTemp.b = point;
lines.push_back(lineTemp);
}
}
drawnPoints.push_back(ofPoint(x,y));
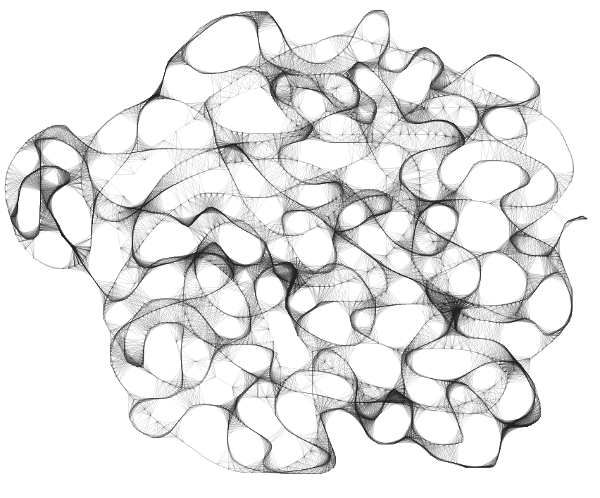
}The draw() method is pretty easy, we use the Line class that we have created in the header file to obtain the values of the point a and b. Then we use ofDrawLine to connect them. ofDrawLine simply draws a line from one point to another. The mouseDragged method is a bit more complex. Let's start from the easyest part, drawnPoints.push_back(ofPoint(x,y)). Everytime we drag the mouse, we are saving the position of the mouse in the drawnPoints vector. This vector is like the history of all the movements of the mouse on the screen. Now let's have a look at the loop that starts with for (auto point : drawnPoints). In this loop we are taking the current position of the mouse ofPoint mouse, and we are confronting it with all its previous position. If the distance between the current position and a previous position is less than 30 pixel, we create a Line lineTemp that connects the position of the mouse with the point in the history vector drawnPoints which distance is less than 30px. After that we push the Line in the lines vector, ready do be drawned on the screen. Try to move the mouse around, you should be able to draw something like this.
Make a smooth line in movement in a 3D space
Now that we know how to use ofPolyline, we can combine it togehter with ofNode, and draw a lines that moves smoothly on the screen. ofNode is a class that defines a point in a 3D space and can be chained to other nodes. If we make 2 nodes, A and B, and we define the node A as a parent of B. moving the A node will also move the node B. Let's see how ofNode and ofPolyline can play together. First, edit your App.h file as follow:
ofNode baseNode;
ofNode childNode;
ofNode grandChildNode;
ofPolyline line;
ofEasyCam cam;
The EasyCam class is used to see a scene in 3D space. Dragging the mouse around will allow you to move the camera around your scene. You do not need to worry for now about how does that work, EasyCam is taking care of everything. Now, edit the App.cpp file as follow:
void ofApp::setup(){
    ofEnableDepthTest();
    baseNode.setPosition(0, 0, 0);
    childNode.setParent(baseNode);
    childNode.setPosition(0, 0, 200);
    grandChildNode.setParent(childNode);
    grandChildNode.setPosition(0,50,0);
}

//--------------------------------------------------------------
void ofApp::update(){
    baseNode.pan(1);
    childNode.tilt(3);

    line.addVertex(grandChildNode.getGlobalPosition());
    if (line.size() > 200){
        line.getVertices().erase(
                                 line.getVertices().begin()
                                 );
    }
}

//--------------------------------------------------------------
void ofApp::draw(){
    cam.begin();
    //uncomment these 3 lines to understand how nodes are moving
    //baseNode.draw();
    //childNode.draw();
    //grandChildNode.draw();
    line.draw();
    cam.end();
}
You should see an image like this:

Lets' go through the code. In the setup method we create a chain of 3 nodes and we assign them a position. Each node is parent to the previous one using setParent. In the update method we tell to the baseNode to rotate 1 degree on the y axis. This will have a percussion also on the 2 other nodes. We also tell to the childNode to rotate 3 degree on the x axis. These 2 rotation are enough to give to the last node of the chain, the grandChildNode, an elegant movement around the 2 nodes. In the following lines, we are capturing the points from this movement and we are puttin them in the ofPolyline. We keep only 200 points in the line, erasing the old ones as soon as new points are pushed in. Try to increase this value to see how the line change.