How to make a GUI slider to control a variable
Creating a GUI slider is very simple. You simply generate a project with the GUI add on, initialize an ofxFloatSlider and gui, draw the gui, and link the slider to a specific variable.
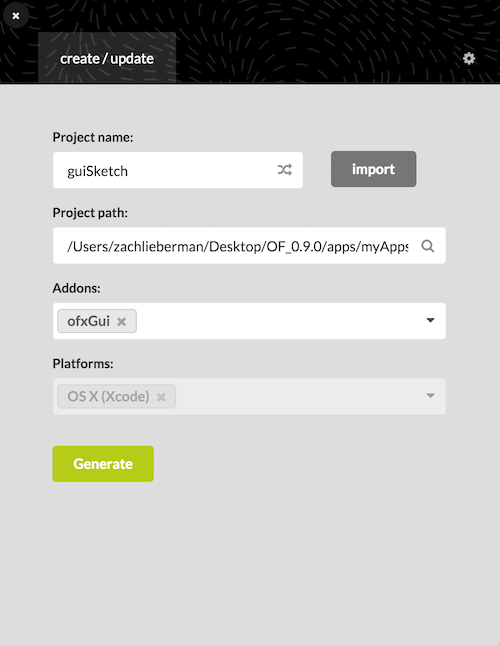
When you generate your project, include the ofxGui addon.
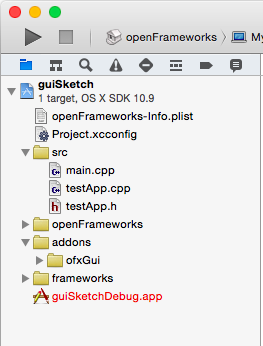
When you open your app in xCode, you should see the gui add on source files here:
in the header file (.h)
Include the "ofxGui.h" file.
#include "ofxGui.h"
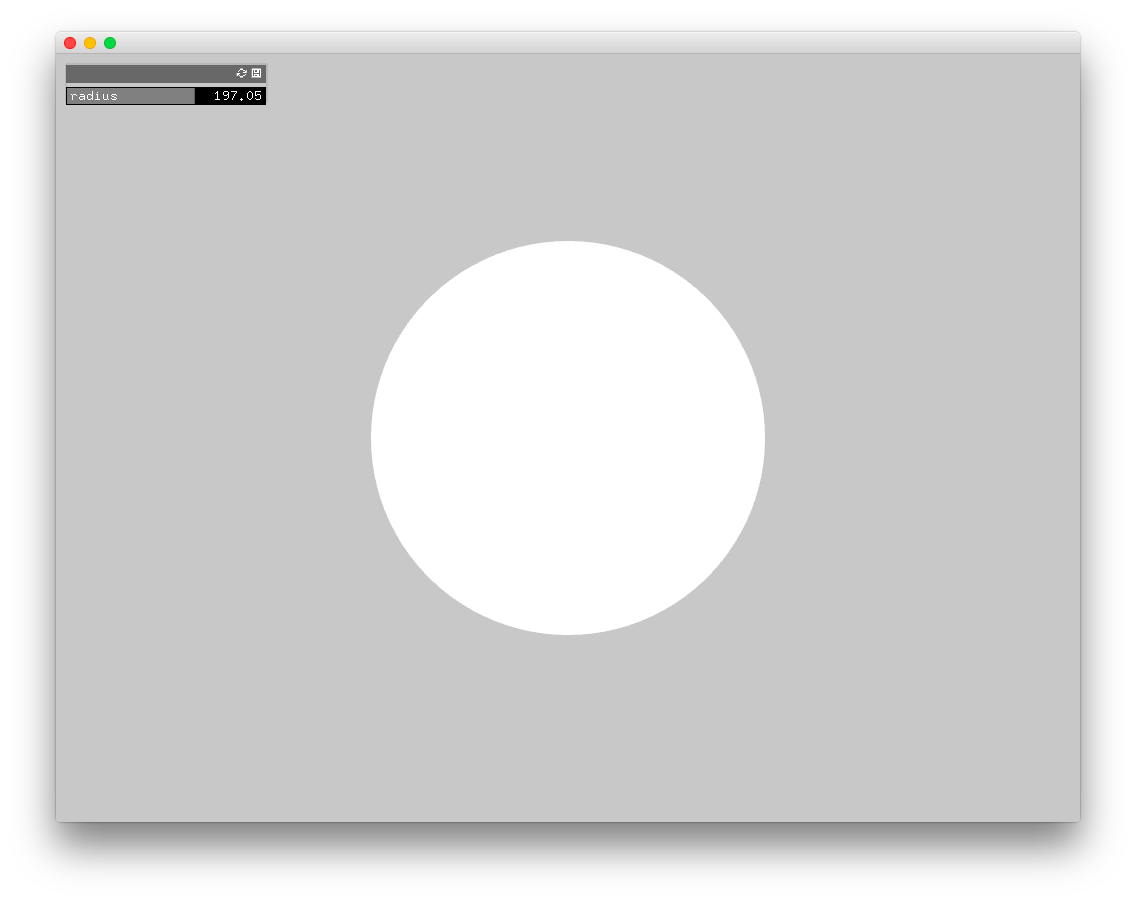
Initialize a slider and a panel. Here we will use ofxFloatSlider radius to control the size of a circle. If you wish to work with intergers, use ofxIntSlider.
ofxFloatSlider radius;
ofxPanel gui;
in the implementation file (.cpp)
Setup your panel named 'gui' and add the radius slider using gui.add(). Here we are labeling the slider with the string "radius", starting the inital value at 140, and giving the slider a range of 10 to 300.
void ofApp::setup(){
    gui.setup();
    gui.add(radius.setup("radius", 140, 10, 300));
}
For the sake of example, draw a circle in the draw() function and pass the variable 'radius' as the third parameter.
void ofApp::draw(){
    ofDrawCircle(ofGetWidth()/2, ofGetHeight()/2, radius);
    gui.draw();
}
When you run the app, move the radius slider back and forth to change the size of the circle.